
Getting Started
Log in, navigate Hopshift, and understand how the platform is structured
Hopshift is an HR and payroll platform built for businesses in Southeast Asia. It handles employee management, shift scheduling, leave tracking, clock-in/out, and payroll compliance: all in one place.
This guide walks you through logging in, understanding the platform structure, and navigating the admin interface for the first time.
Platform Structure
Before diving into setup, it helps to understand how Hopshift organizes data.
Groups and Companies
Hopshift uses a two-level hierarchy:
| Level | What it represents | Example |
|---|---|---|
| Group | The parent organization that owns one or more companies | "Glitch Group" |
| Company | A legal entity or outlet within the group | "Glitch Bangkok", "Glitch Sukhumvit" |
Leave policies, public holidays, and compliance settings are configured at the Group level and inherited by all companies within the group. Payroll, employee assignments, and shift schedules are managed at the Company level.
If your business operates as a single company, you'll still have one Group containing one Company. The hierarchy exists to support multi-outlet operations.
Access levels
Hopshift uses configurable access levels, managed under Access in the group sidebar. Each access level is built on one of four tiers:
| Tier | What it allows |
|---|---|
| Admin | Full access: employees, payroll, scheduling, approvals, settings |
| Manager | Granular permissions, for example approving leave and timesheets for a team |
| View Only | Read-only access |
| Employee | No admin access: self-service only (own profile, leave, clock in/out) |
Group-level membership is separate: a person can be a group Owner, Admin or Member, set under Group Settings.
Company admins manage a specific company. Group admins have visibility across the entire group: they are typically HR team members who need a cross-company view.
Logging In
- Go to
hopshift.appand open the login page. - Enter your email and click Continue with Email. Hopshift emails you a 6-digit code.
- Type the code and click Verify & Sign In. You can also use Continue with Google.
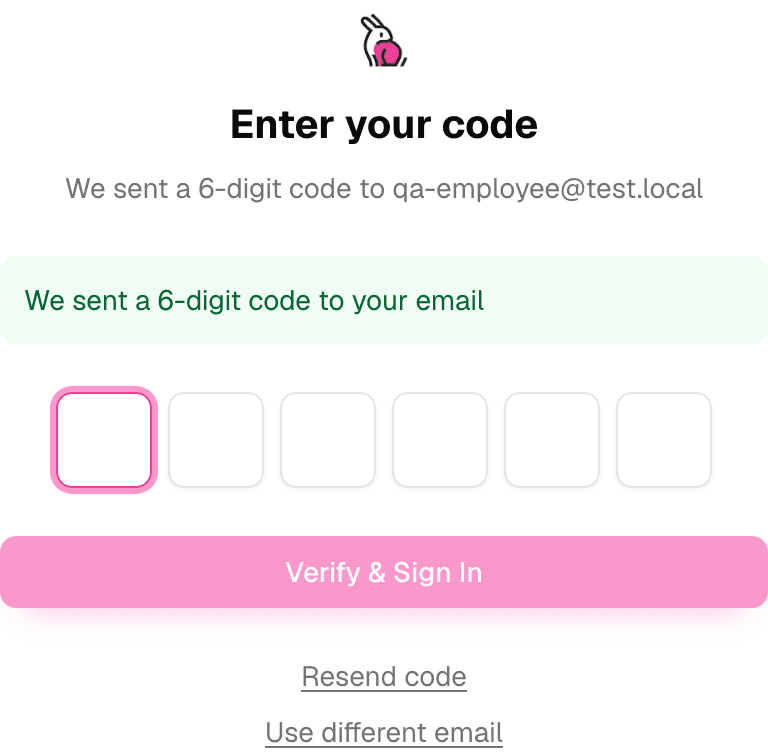
If this is your first login, you will have received an invitation email; follow its link and sign in with the emailed code.
There are no passwords in Hopshift, so there is nothing to reset. If a code does not arrive, check your spam folder or use Resend code on the login page.
Navigating the Interface
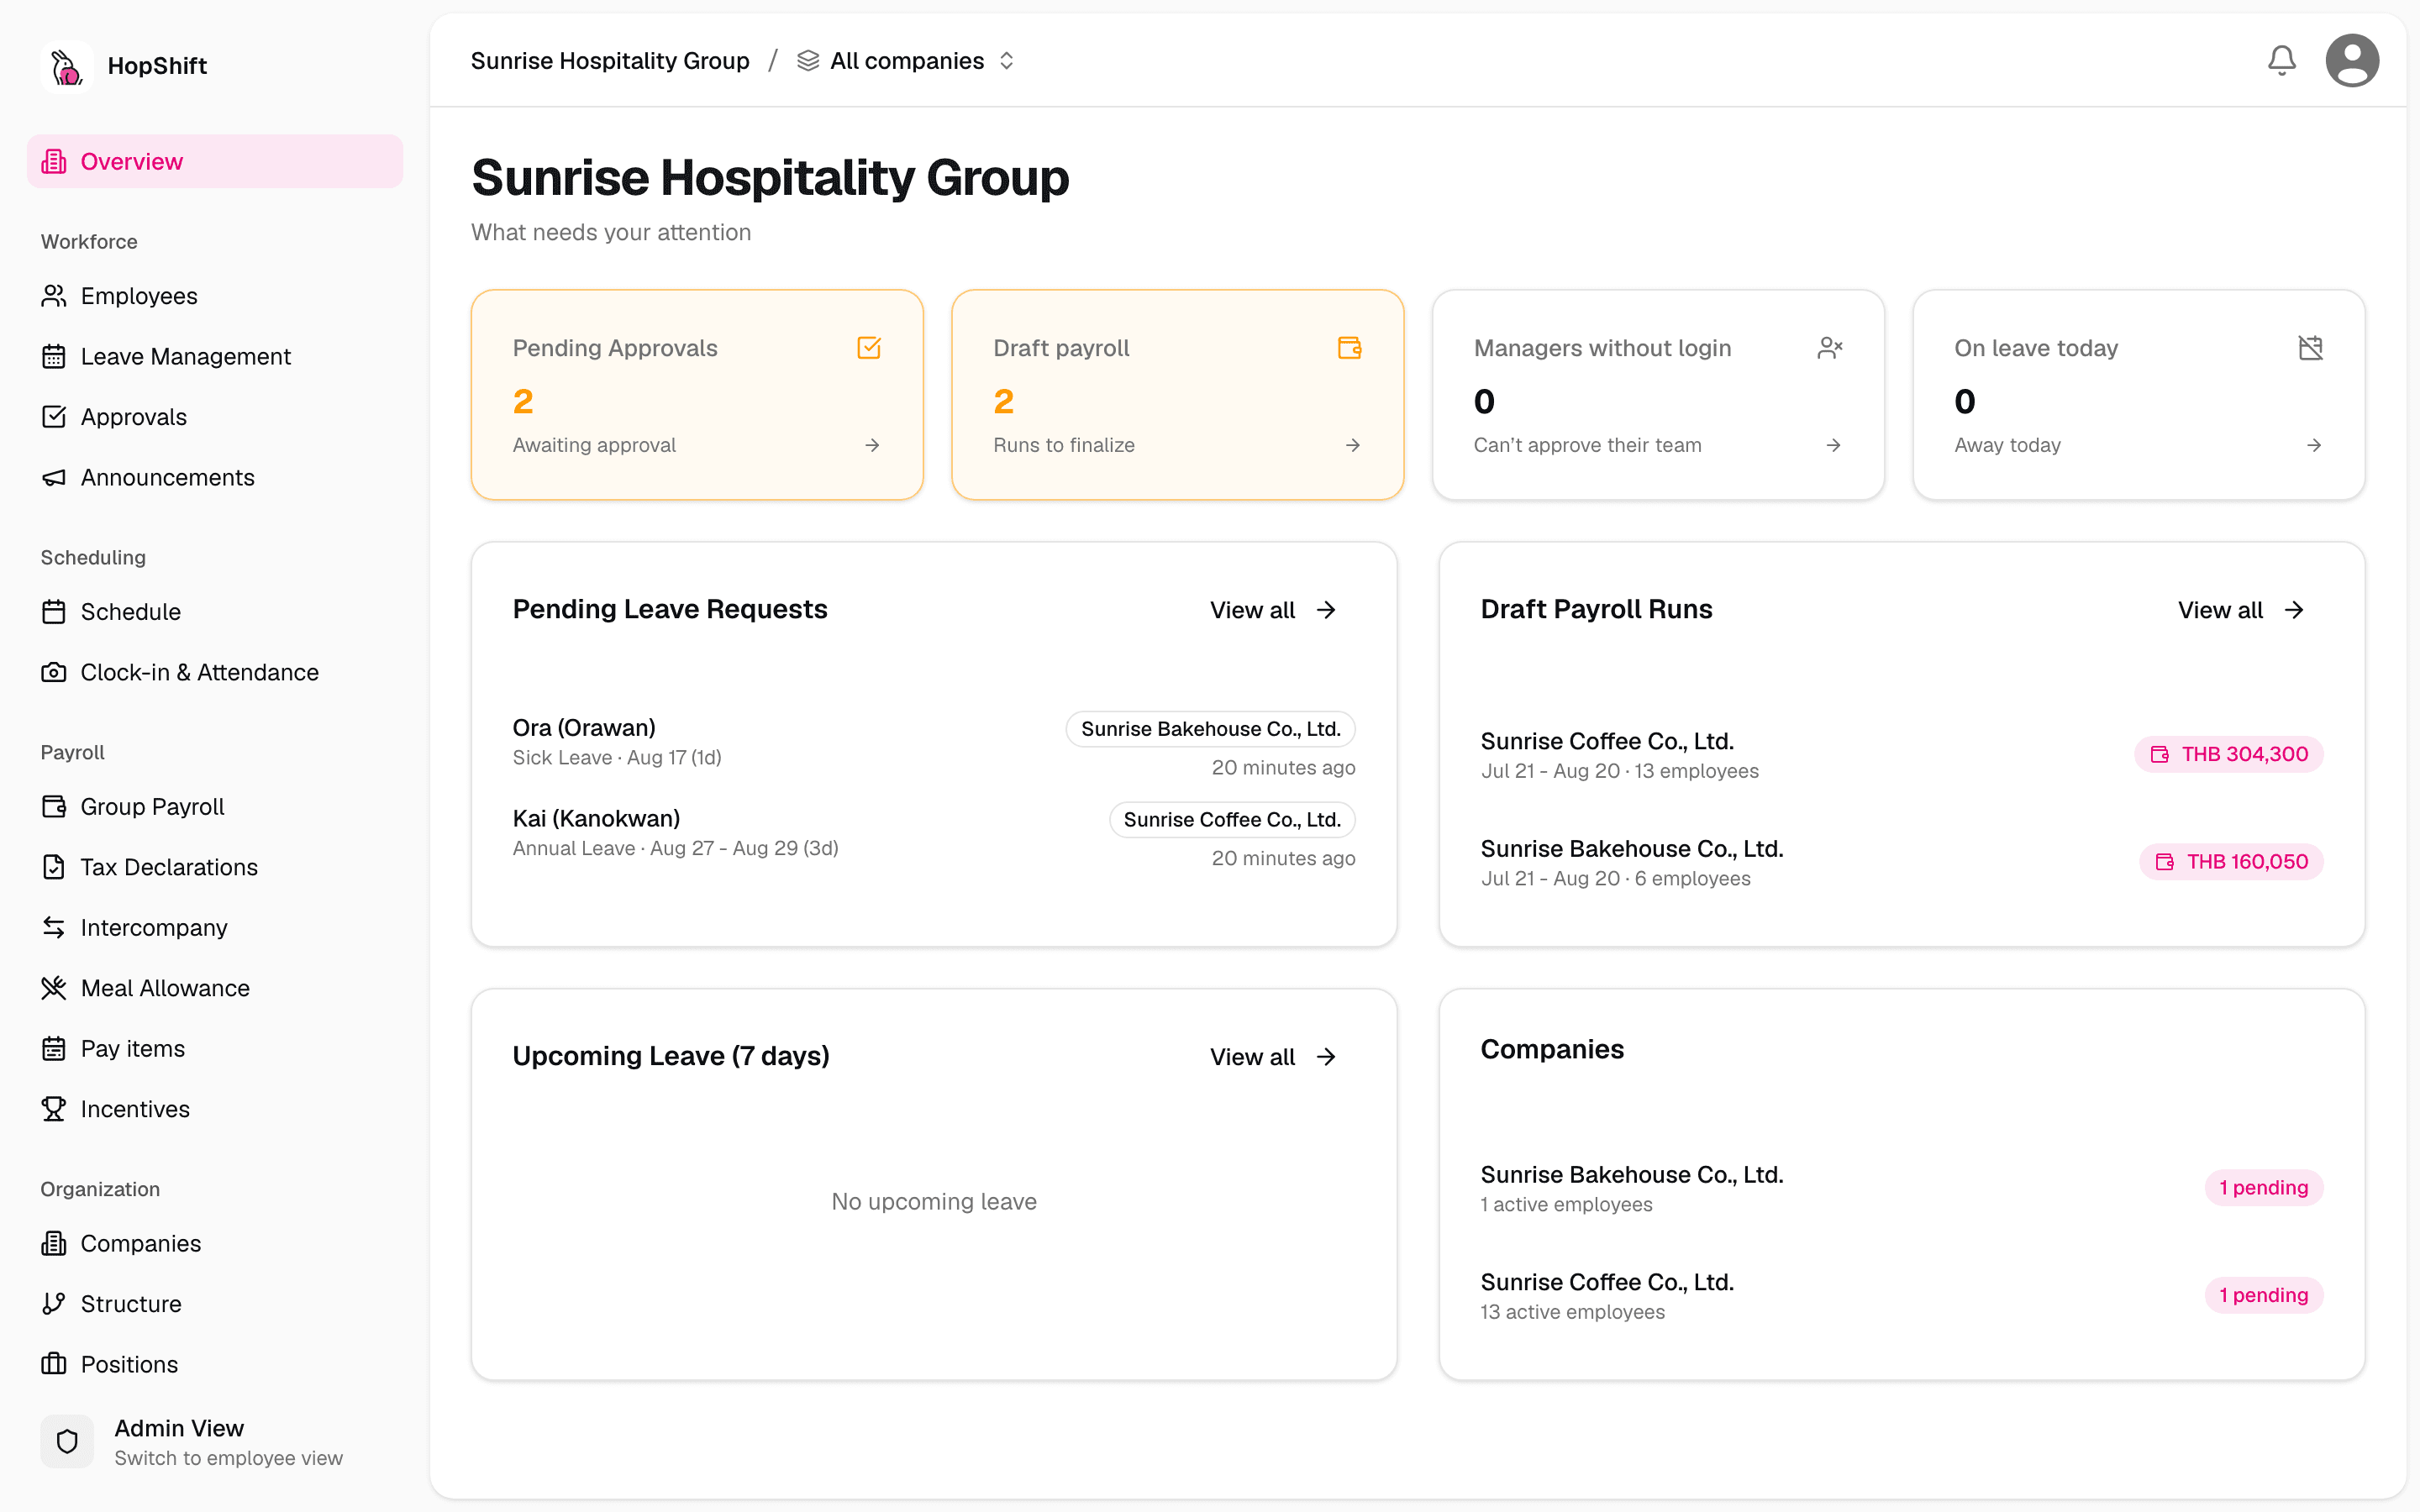
After logging in, you land on the group Overview (or the company Overview if you administer a single company). The interface has two main areas: the scope breadcrumb in the top bar and the sidebar on the left.
Sidebar Navigation
When the scope is set to All companies, the group sidebar is grouped into sections:
- Workforce: Overview, Employees, Leave Management, Approvals, Announcements
- Scheduling: Schedule, Clock-in & Attendance
- Payroll: Group Payroll, Tax Declarations, Intercompany, Meal Allowance, Pay items, Incentives
- Organization: Companies, Structure, Positions, Access
- Settings: group name, API keys and OT policies
When a company is selected, the sidebar shows that company's pages instead: Overview, Employees, Schedule, Attendance, Leave, Leave Balances, Payroll, Analytics, Documents, Notifications, AI Assistant and Settings.
Switching Between Companies
The scope breadcrumb in the top bar shows your group name followed by the company you are looking at. Click it to pick a different company or All companies. Picking a company swaps the sidebar to that company's pages; picking All companies brings back the group sidebar.
Group admins see the group-scoped sidebar whenever the breadcrumb is set to All companies. Group-wide configuration such as leave types, positions and access levels lives there.
Admin vs. Employee View
Admins can also access the employee-facing view of Hopshift: the same interface that your employees use to check their schedules, balances, and payslips. Use the Admin View / Switch to employee view toggle at the bottom of the sidebar.
First-Time Setup Checklist
When setting up Hopshift for the first time, complete these steps in order:
Step 1: Configure Company Settings
Select the company in the scope breadcrumb, go to Settings, and on the General tab fill in:
- Company name and country
- Contact information and address
- Thai company details (Thai name and Thai address)
- Company logo
See the Settings guide for full details.
Step 2: Create Departments and Positions
Before adding employees, create the org structure they will belong to.
- In the company's Settings, open the Departments tab and add your departments (e.g. "Kitchen", "Front of House", "Finance").
- Switch to All companies and go to Positions in the group sidebar to add job titles (e.g. "Barista", "Outlet Manager", "Chef"). Each position belongs to one company.
Positions can be named in English, Thai, and Chinese for multilingual display.
Positions are configured at Group level and are tied to a company; departments are configured per company.
Step 3: Configure Leave Types
Go to Leave Management in the group sidebar, open the Types & Policies tab and review the leave types for your country (use Thai defaults to create the standard Thai set). Adjust entitlements as needed for your organization's policy. See Time Off for details.
Step 4: Add Employees
Go to Employees in the group sidebar and click Add Employee to add team members one by one. For bulk imports, use Import on the same page (see Importing Employees).
At minimum, fill in:
- Full name (English)
- Company, department, position and location
- Hire date
- Employment type
Before their first payroll run, Thai employees also need:
- National ID number (13 digits)
- Gender
Date of birth is useful but not required to finalize payroll.
See the Employees guide for full profile field documentation.
Step 5: Set Up Shifts
Go to Schedule and add shifts directly on the weekly grid, then publish the week so employees can see it.
See the Scheduling guide for details.
Step 6: Set Up Clock-In
In the company's Settings, open the Clock In tab. Turn on Enable Clock In, choose whether to require a photo and a GPS check, and set the coordinates and radius for each location. Employees then clock in from the Hopshift app.
Understanding Pending Actions
The Dashboard shows items requiring your attention. Common items include:
| Item | Where to action it |
|---|---|
| Leave requests awaiting approval | Approvals (Leave tab), or Leave Management → Requests |
| Clock-in records awaiting approval | Approvals (Clock-in tab), or the company's Attendance page |
| Employees missing compliance data (e.g. no national ID) | Employees → [employee profile] |
| Payroll runs ready to review | Payroll |
Before running payroll for Thai employees, ensure every employee in the run has a national ID number and gender on their profile. Missing these fields will block payroll finalization.
Inviting Additional Admins
Company-level admins and managers are employees with an access level. Open the employee's profile, go to the Permissions tab and assign the access level they need. If they have not been invited yet, send them an invite from the profile (see Inviting Employees).
To add a group admin:
- Switch to All companies and go to Settings.
- In the Admins card, click Add Admin.
- Enter their email address and pick an access level (Member, Admin or Owner).
If the person has no Hopshift account yet, they receive an invitation email and sign in with an emailed code when they follow the link.
Getting Help
- Documentation: You're here. Use the sidebar to explore guides by topic.
- Email support: Reach out to your Hopshift account representative for setup help and payroll period support.
During payroll periods, prioritize any compliance or finalization issues. If you encounter a blocking error, contact support immediately: payroll delays can have statutory consequences.